When putting together your inbound marketing strategy, you’ll need to decide which tools best align with your goals while still fitting into your budget. If you aren’t ready to take the leap and invest in full-featured marketing software such as HubSpot, you may be looking at free alternatives that can offer similar features. For email marketing specifically, MailChimp is one such tool to consider, as it offers a wide variety of services free of charge.
While there are limitations to what you can accomplish with MailChimp, it does provide options for advanced marketing opportunities, such as adding dynamic content to your emails. In this post, we’ll look at why dynamic content is useful in email marketing and how to set it up for your MailChimp campaigns.
Importance of dynamic content
Before diving in, it’s helpful to first understand what dynamic content is and the role it plays in your email marketing. Essentially, using dynamic content is a way of personalizing your email campaigns by creating content that will change based on the data you’ve collected from your subscribers. This can be as simple as displaying a subscriber’s name in an email, or as advanced as swapping out entire sections of an email based on a subscriber’s interests.
Dynamic content can make your email marketing campaigns more effective and beneficial to your subscribers. If your email subscribers are receiving content that is tailored to them, you’ll see better conversion results. In fact, Campaign Monitor found that “marketers have found a 760% increase in email revenue from segmented campaigns”.
In order to use dynamic content, you’ll need to plan ahead when developing your email strategy in order to anticipate the data you’ll want to collect from your subscribers. For example, if in the future you’re planning to run a location-based email campaign, you’ll want to make sure that your email list has a field for location and that you’re successfully getting that information from subscribers. Once you’re collecting the right information, you can then personalize your email marketing by creating content that targets specific groups.
How to set-up dynamic content in MailChimp
Dynamic content can be added to a MailChimp campaign using a combination of merge tags and conditional statements. By adding dynamic content directly within your email, you eliminate the need to send multiple campaigns to different groups of subscribers. The following steps will walk you through how to get your campaign up and running.
Step 1: Assess your list
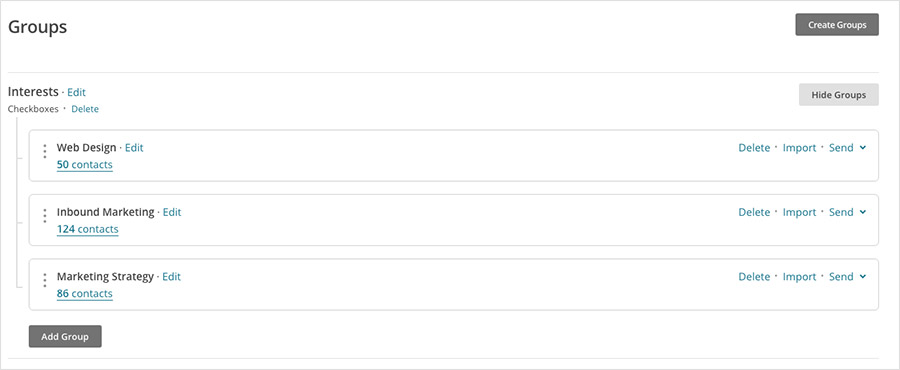
Before creating your campaign, you’ll need to ensure your subscriber list is in order and has the fields needed for your campaign. Create groups as needed for any subscriber categories that you plan to target. Make note of the merge tags (i.e. field names) for any fields you plan to display within your email.

Step 2: Plan your content
Once your subscriber list is in order, plan out the content that will differ between subscribers. Identify opportunities for personalization and engagement based on your overall marketing goals. Consider elements such as calls-to-action, promotional information, location-based content, and so on. For example, if your company has multiple locations, you might provide contact information at the end of your email that is specific to the location closest to that subscriber.
Step 3: Implement your content
There are essentially three options for adding dynamic content within a MailChimp email:
- Display subscriber information using a field’s merge tag value
- Use conditional statements to display content based on field value
- Use conditional statements to display content based on group options
To understand how to use these options, let’s look at a few real-life scenarios.
Scenario 1 – Display a subscriber’s name
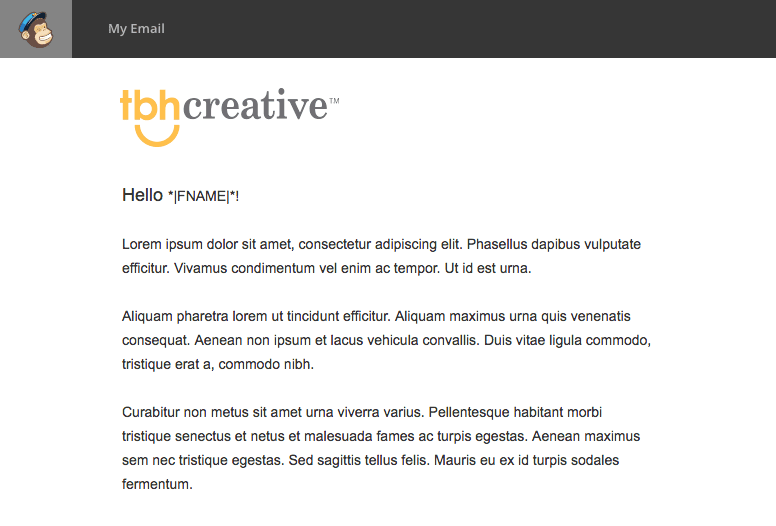
To display any field value for a subscriber, you’ll reference the merge tag for that field as follows:
Dear *|FNAME|*,
In this example, we are displaying the first name of the subscriber using the merge tag for that particular field, which is FNAME in this case. To show a different field value, you would just swap out FNAME with the appropriate merge tag.

Scenario 2 – Display a default value for an empty field
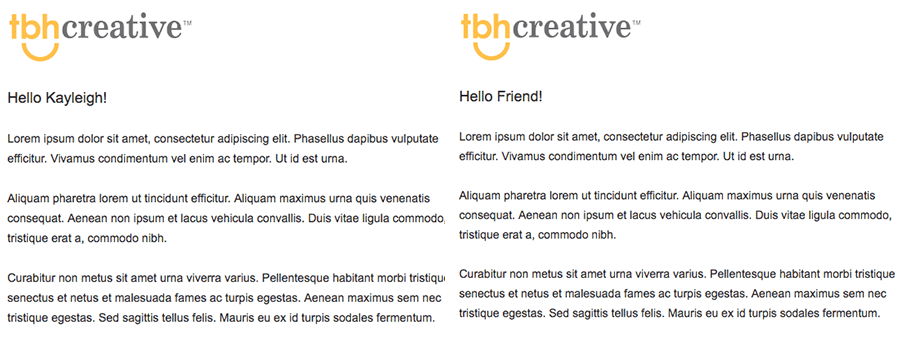
MailChimp provides the option to use *|IF|* conditional blocks to test for specific field values, whether or not a field is empty, and more. If in the previous example, a name was unknown for a subscriber, it would look odd to just have “Dear ,” without a name. One way to avoid missing content such as that is to provide a default value using a conditional statement. Here’s what that looks like:
Hello *|IF:FNAME|*
*|FNAME|*!
*|ELSE:|*
Friend!
*|END:IF|*
This checks for the existence of a value in the name field (referenced by its merge tag, FNAME), and then provides a default value (Friend) if that isn’t found.

Scenario 2 – Display content based on subscriber interests
You can also choose to display entire sections of content based on a subscriber’s group preferences using the *|INTERESTED|* conditional blocks. This is especially useful when you want to display content specific to a subscriber’s chosen interests within a list. For example, if a healthcare provider allows subscribers to choose what health services they are interested in, they could display out targeted information in an email as follows:
*|INTERESTED:Interests:Family Medicine|*
Information about Family Medicine
*|END:INTERESTED|*
*|INTERESTED:Interests:Heart Health|*
Information about Heart Health
*|END:INTERESTED|*
In this example, “Interests” is the name of the group, followed by the field name being targeted. Each block of content would only display if a subscriber has selected that option in that particular group.

Step 4: Test your dynamic content
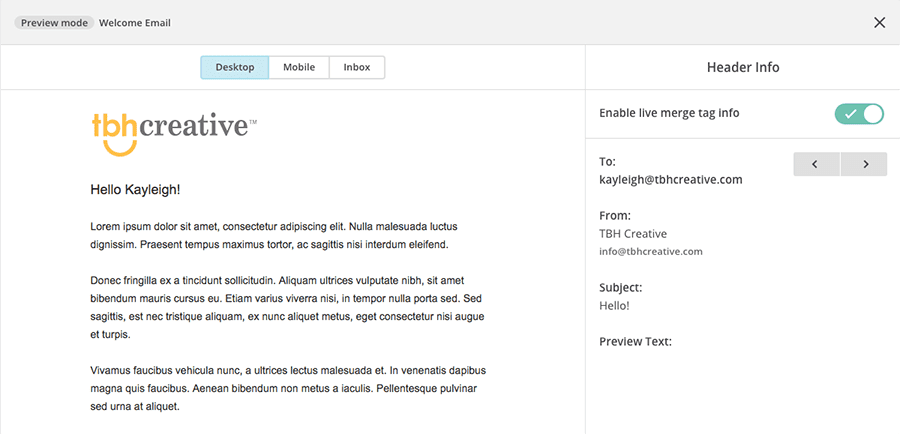
To make sure you’re dynamic content is working properly, use MailChimp’s preview options to view your email as specific subscribers. When in preview mode, toggle on the “Enable live merge tag info” option and select a subscriber. This will let you test various scenarios and confirm your content is displaying as intended.

And there you have it! A personalized email campaign to increase engagement with your subscribers and improve your marketing efforts. For additional examples and a full list of conditional statement options in MailChimp, check out their article on using conditional merge tag blocks.

