
Over the years, Photoshop has transitioned from being primarily used for photo-editing to an industry-standard program for graphic and web design. However, Photoshop hasn’t always successfully catered to the specific challenges that web designers face, such as the shift to responsive design. In order to keep up with changes in the industry and to stay ahead of competitors, Photoshop has since implemented new features and improved existing tools that better align with the modern web designer’s workflow.
In this article, we’ll take a look at some of the most essential Photoshop CC features for web designers.
In this article, we’ll take a look at some of the most essential Photoshop CC features for web designers.
Layer comps
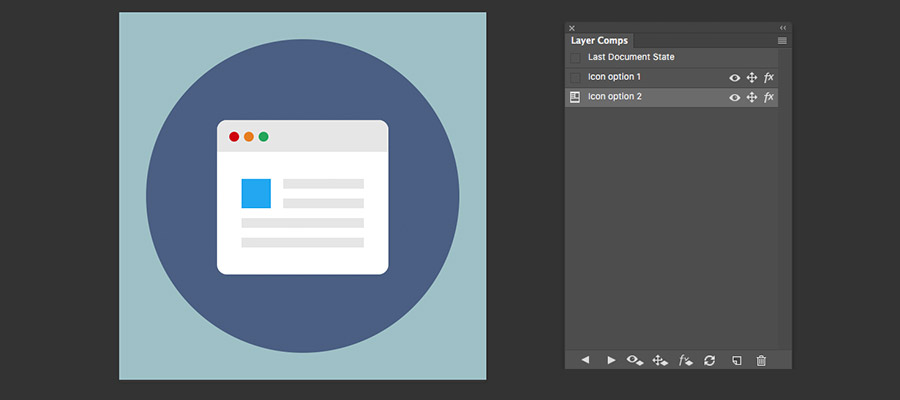
A simple example of how you might use layer comps is to quickly show how a section of your design would look with a different color background. It has more advanced uses as well, such as setting up hover state views for a website design.
Learn how to use layer comps.
Artboards
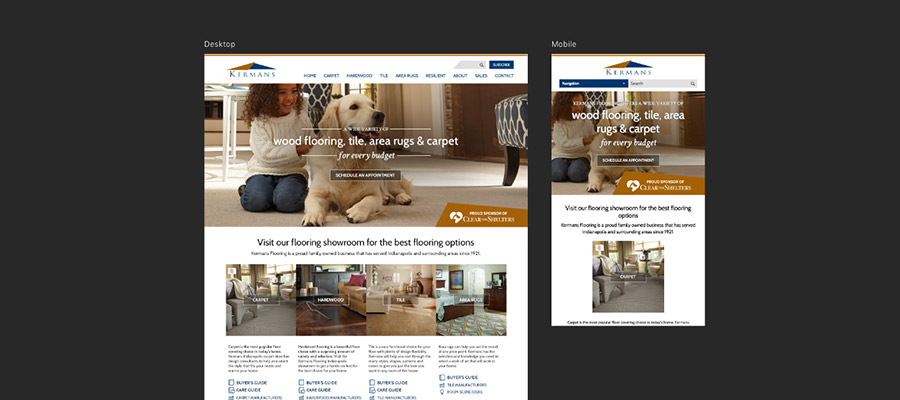
Artboards can also be easily exported as separate files or as a single PDF. This makes it easy to organize and share your designs.
Learn how to use artboards.
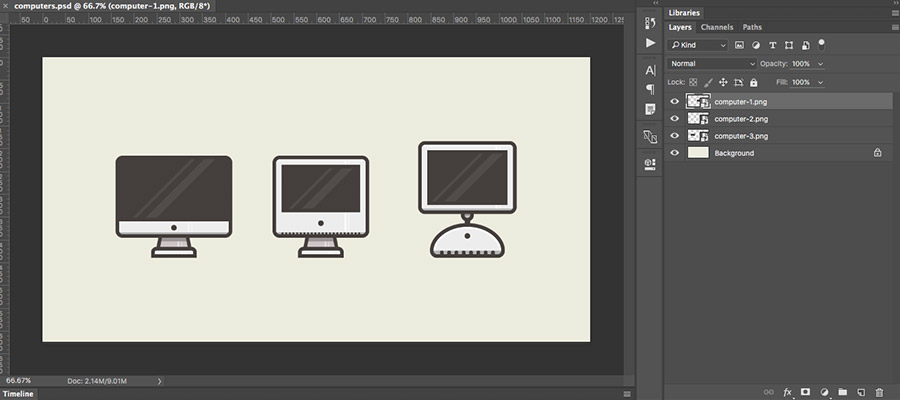
Smart objects
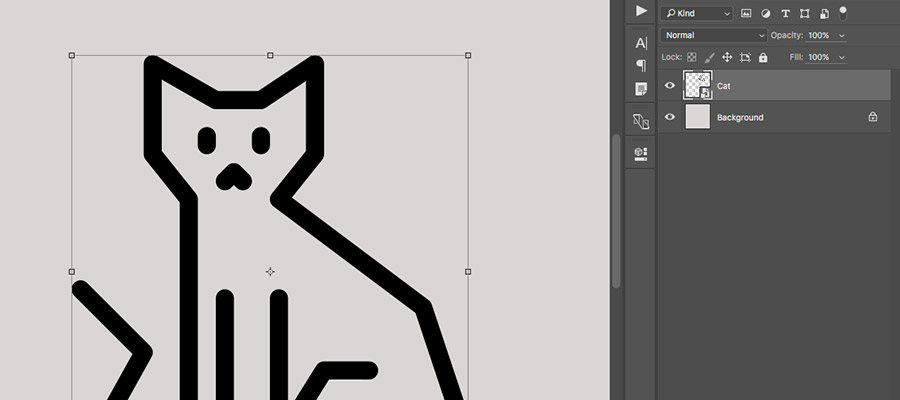
Smart objects are useful for web design especially since they allow assets to be exported in the proper formats. For example, if you’re trying to export a graphic as an SVG, this can be done easily if the vector version was kept in tact by importing it as a smart object instead of a rasterized image.
Learn more about how to use smart objects.
Library panel
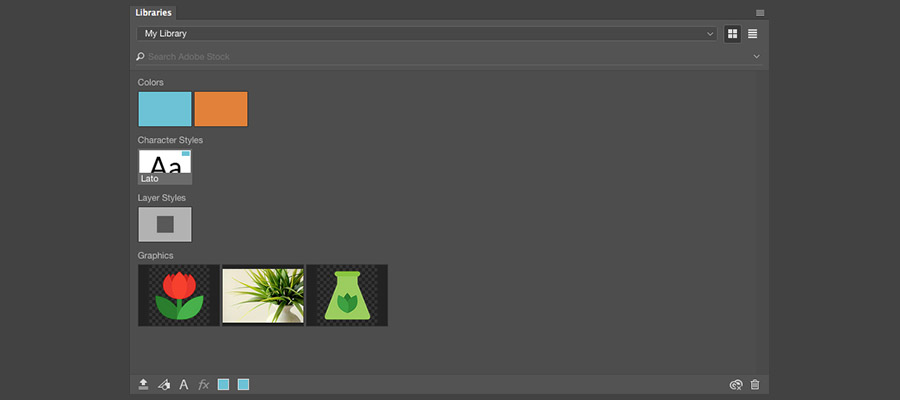
Using the library panel for your website designs helps to ensure consistent use of styles and components across all views. Keeping elements like typography and colors consistent will result in an easier transition from the design to the development stage.
Learn how to use the library panel.
Asset export
Learn more about how to export assets.
Did we leave out your favorite Photoshop CC feature?
Tweet us @tbhcreative and let us know what’s essential to your workflow!Related articles:
- Best practices for delivering website designs to your developer
- Why spending time on the details can make or break your website
- Freebie roundup: 10 free resources for web designers